Your bike needs a lot of care, love, and attention to detail to guarantee a smooth ride. And hence, regular bike maintenance is the easiest way to keep your bike in top condition.
Learning the basics of home bike maintenance will definitely help reduce your frequency to a bike shop and also squeeze a little more life out of your bike components.
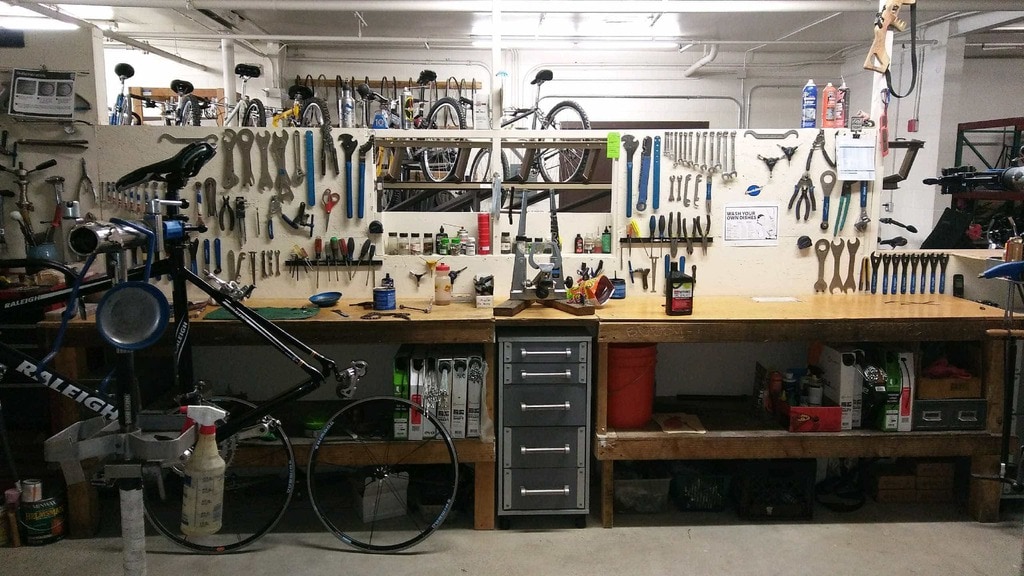
While going to your bike mechanic is always the first thing to consider in case of a problem, there are some basic bike maintenance skills you should know and can perform in between rides, ideally at home.
Here are the 7 basic bike maintenance routines I reckon every cyclist should know.
1. Keep the Bike Clean
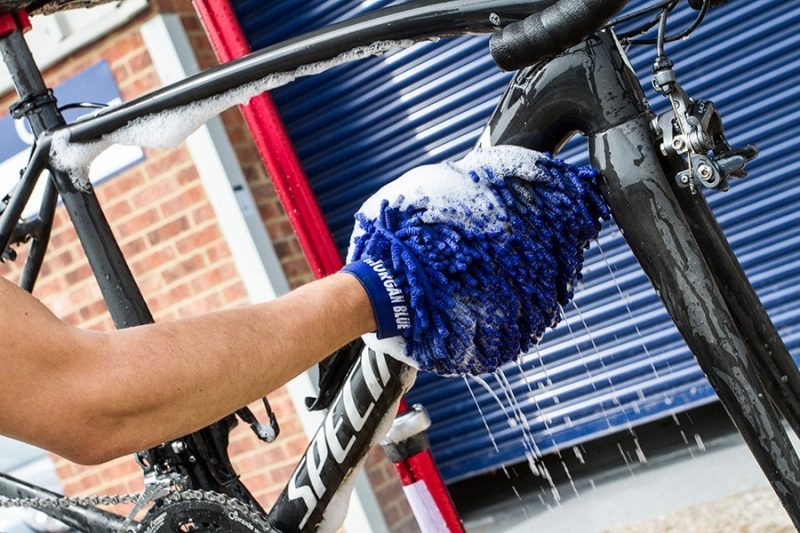
Keeping your bike clean is one of the most basic maintenance routines you can perform to extend the life of your bike. This is particularly the case if you spend most of your time riding in muddy or wet conditions.
Maintaining the cleanliness of your bike parts is vital to ensure it works as expected.
Besides keeping your bike sparkling, cleaning also protects bike parts from wear and tear and helps keep corrosion and rust at bay.
For the best results, I recommend that you use a bike-specific cleaner. A spray-on bike cleaner can work wonders. Spray the cleaner on your bike and leave it for a few minutes before washing it off.
I’m sure you’ve probably seen videos of mechanics cleaning a pro cyclist’s bike using a high-pressure spray. You’d want to avoid that as the high pressure can easily wash off all the grease on the bearings.
Here are some additional bike cleaning accessories you will need to get the job done:
- Clean Rag. Have several of these near you for general cleaning, drying, oiling, and wax-related tasks.
- Cleaning Brushes. Have a few brushes in different shapes and sizes for you to access the difficult-to-reach parts of your bike to remove debris. An old toothbrush could also work correctly.
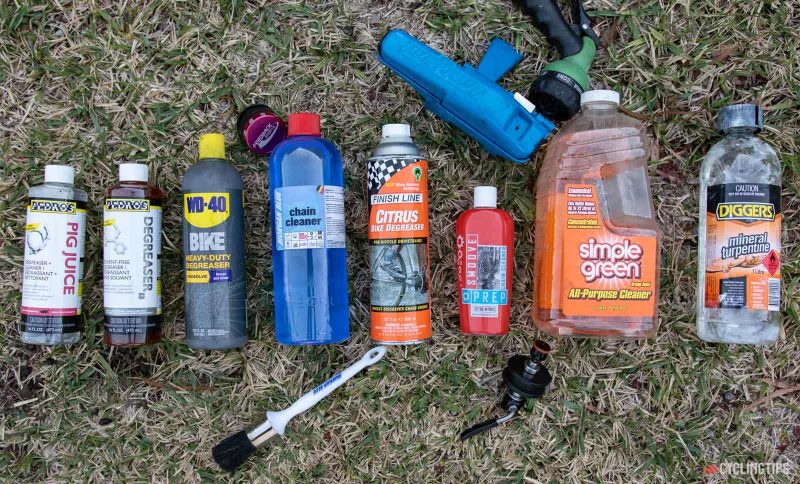
- Chain Degreaser. Use a bike-specific degreaser to clean the gummy parts of the chain. Avoid turpentine or kerosene since they would corrode your bike’s paint.
- Bike Cleaner/Soap. Ideally, you want to use a bike-specific cleaner, But a diluted dishwashing detergent would also do the trick.
Alternatively, you can get a bike cleaning kit that has all the different types of brushes you’ll need, bike cleaner, chain degreaser, and rags.
2. Keep the Drivetrain Clean and Well Lubed
I often compare keeping the drivetrain clean to changing your engine oil.
Lubing your chain and cleaning the drivetrain extends their lifespan, ensures a smoother gear shift, and creates a smoother ride. The frequency of you cleaning the chain depends on how, where, and when you ride.
If you are strict sunny weather or paved road cyclist, you can get away with cleaning the drivetrain less frequently.
But if you ride a lot in muddy and wet conditions, you should clean and lube your drivetrain after every ride to prevent your chain from getting filthy. Be sure to reapply the chain lube after cleaning.
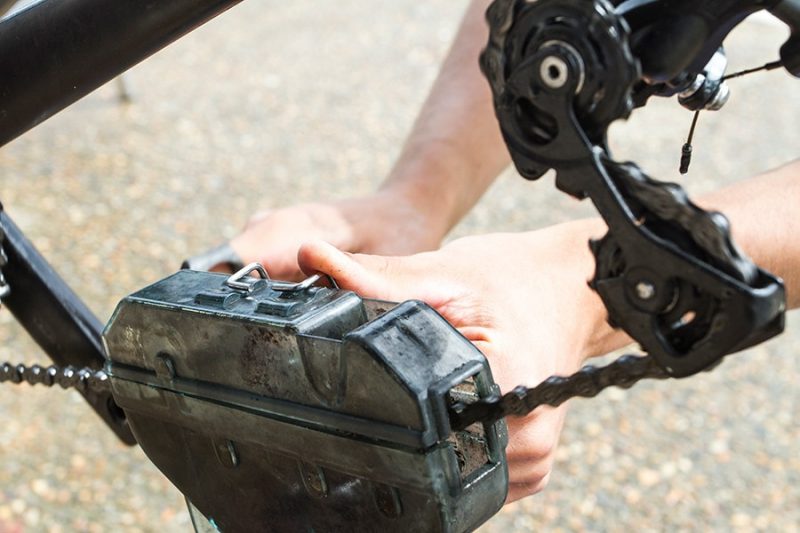
It can be quite a long process to clean the drivetrain, especially if you’re just starting. That’s why there are special chain cleaning tools like the Park Tool CM 5.2 to make life easier for you.
Alternatively, if you’re running a short time, you can use a rag to clean the chain quickly. Wrap it around the chain and turn the pedals backward.
A quick cleaning job is better than no cleaning at all!
Read More : The 10 Best Dry, Wet, and Ceramic Chain Lubes
3. Check the Tire Pressure
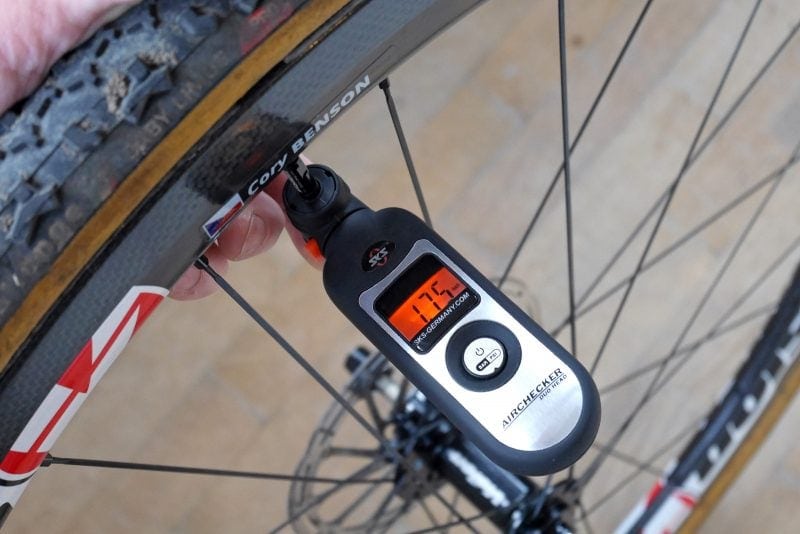
Check your bike tire pressure every three to four days. You’ll be surprised how much air pressure some bike tubes can lose in just a few days.
Most cyclist will pump their bike tires up to anywhere between 80 – 120 psi. You want to have a reliable floor pump at home with an air pressure gauge.
The tire pressure is highly dependent on a lot of factors such as riding conditions, road surface, tire size and type, and body weight.
Generally, the wider the tires, the lower the air pressure, given that the other variables remain constant.
A slight difference in tire pressure would drastically affect your bike’s handling and comfort.
Always stay within both the tire and wheelset manufacturer’s recommended tire pressure. Some clincher wheelsets can have a lower maximum air pressure compared to the tires you’re using.
Pay attention to that.
Read More : Quarq TyreWiz Tire Pressure Monitor Review
4. Ensure Nuts and Bolts are Tight
Your bike’s parts are held together by dozens of bolts and nuts.
No experience is worse than a bike falling apart while you’re on a ride. Maintaining a tight bike is crucial since loose and improperly tightened bike nuts and bolts could result in severe wear, reduce performance, and create a hazard while riding.
The easiest way to keep your bike parts intact is to do a quick weekly check. You can lightly bounce the bike off the ground and keep an ear for any loose nuts and bolts.
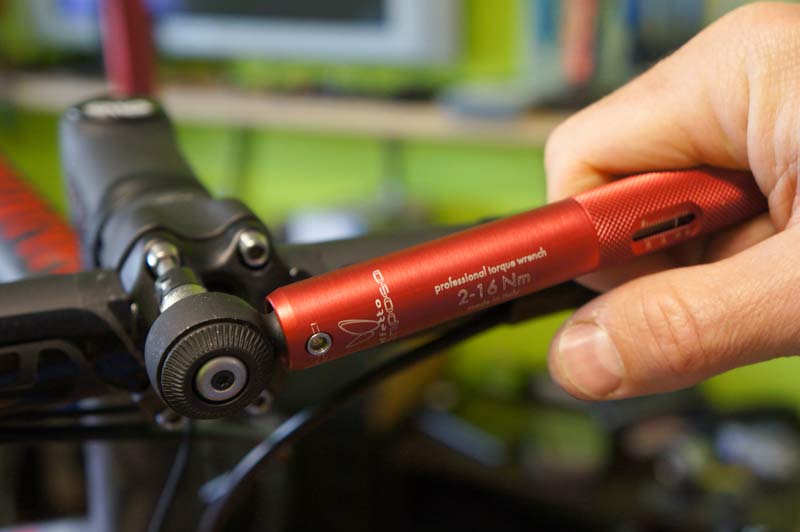
When tightening nuts and bolts, be sure to check with the manufacturer’s manual for the right torque specs. Under-tightening could result in squeaky noises as you ride, while over-tightening could result in physical damage.
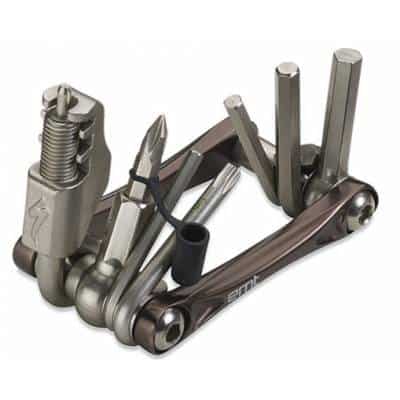
If you’ve carbon parts, remember always to use a torque wrench and set it to the correct torque levels.
5. Check the Brakes
Ensuring the brakes are working as expected is important for your own safety and the other cyclists around you. It’s even more important if your ride involves a lot of descending.
You definitely don’t want the brakes to be malfunctioning when you’re flying down a descend at 40mph.
There are several things to look out for the brakes:
- Test the brakes. Pull and hold the brake levers and ensure the brakes are functioning as expected.
- Brake pads wear. On most brake pads, there’s a wear indicator. Make sure you don’t go beyond the indicated line.
- Brake pads toe-in. You want to ensure the pads’ front section touches the braking surface first and eventually the entire places when the brake levers are fully pulled.
- Contamination. If you’re using disc brakes, make sure to keep the rotors clean to avoid contamination and reduced braking performance. You can use disc brake cleaners such as those from Muc Off but never use WD40.
Read More : A Beginner’s Guide to Bicycle Disc Brakes
6. Index the Gears
After riding your bike for some time, you will probably realize that the gears don’t shift as smooth as when your bike was new. Provided the cables or derailleurs are not damaged, you can easily re-index the gears by yourself at home.
Here’s how to quickly index the gears.
- Locate your bike’s barrel adjuster. Your barrel adjuster will be on the rear derailleur where the cable ingress is. For the front derailleur, it’s usually near the shifters.
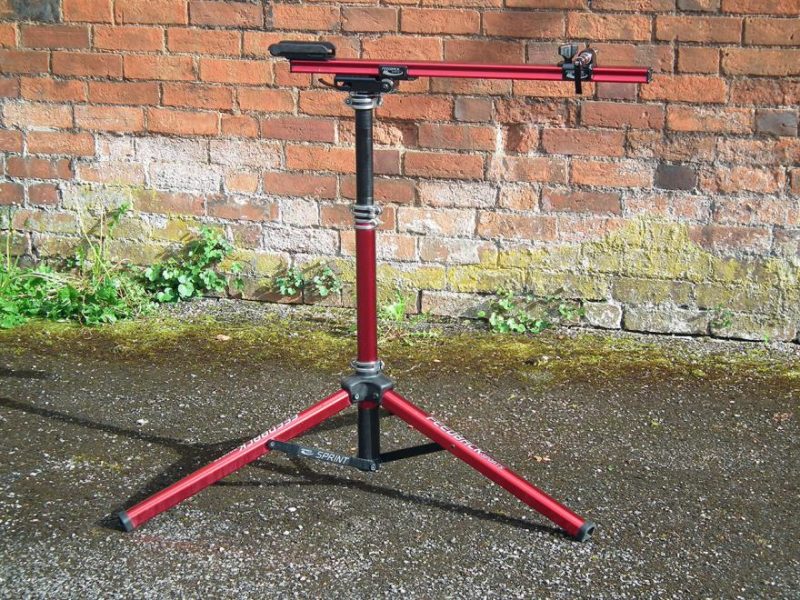
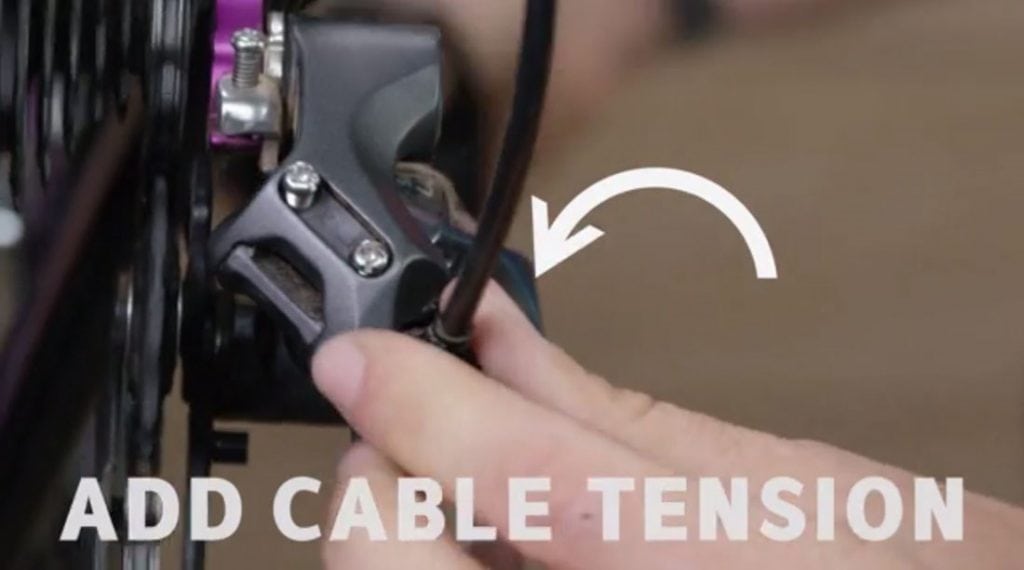
- Does your cable need some tightening? You should assess whether you need a slackened or tight cable. Mount your bike on a repair stand and turn the pedals as you change between gears. If your bike chain doesn’t quickly move up onto the bigger cogs, you need a tight cable and vice versa.
- Adjust cable tension. By now, you already know what the issue is and can use the barrel adjuster to perform gear re-indexing. Turn your barrel adjuster clockwise (outwards) to slacken the cable and anti-clockwise (inwards) to tighten it. Your bike’s barrel adjuster will click as you turn it. Every click is considered as a quarter-turn.
If you’re using electronic shifting with the Shimano Di2 or SRAM eTap, likely, you won’t need to reindex the gears at all.
Unlike mechanical shifting, which relies on steel cables that can degrade over time, electronic shifting uses a motor to shift the derailleurs.
This means that the shifting will be crisp and consistent on day 1 and day 365.
7. Replace Wear and Tear Components
Is your bike making odd noises, gear shifting is not as smooth as it was, or taking a bit longer to stop?
Here are five bike components you should check and replace instantly.
Chain
The chain is arguably the most common bike component that needs replacing.
A typical bike chain is designed to cover between 2000 and 4000 miles, depending on how and where it’s being ridden. If there is a significant stretch or wear on your chain, it’s time to have it replaced.
Regularly cleaning the chain will allow you to squeeze more miles out of it before needing a replacement.
You can quickly check the chain wear using a chain checker such as the Park Tool CC 2.2. It accurately measures the distance between 2 chain links.
If the chain stretch is above 0.75%, it’s time to get a new chain. A worn-out chain will quickly wear out the cassette and chainrings, which could lead to even costlier replacements.
Cassette
The cassette is another standard bike components that undergo wear and tear. As a general rule of thumb, you’ll typically require a new cassette for every other chain replacement.
In other words, a cassette will last you two chains.
Sometimes, with proper drivetrain care and maintenance, the cassette can last up to 3 chains. If you feel the gears are skipping after you changed to a new chain, it’s a sign that the cassette’s cog is worn out.
The downside is even if one cog is worn out, you’ve to replace the entire cassette since the manufacturers don’t sell by a single cog.
Tires
Tires come after chain and cassette. Depending on the type of tires you run, sometimes the tires wear out faster than both chain and cassette.
This is especially true for supple tires used for racing. They usually last around 1000 to 2000 miles at most. Some tires like the Continental GP4000 S2 have a wear indicator which is very handy. For other tires, you’ll need to manually track the miles you’ve done and/or visually inspecting them.
In most cases, the bike tires can last up to 3000 to 4000 miles if they wear out naturally (no cuts).
Brake Pads
Brake pads can be tricky because they don’t need to be replaced often. And this is why most cyclists often overlook them.
You can find the brake wear indicators on most brake pads. You want to replace them before reaching the maximum wear.
Author Recommended Reads