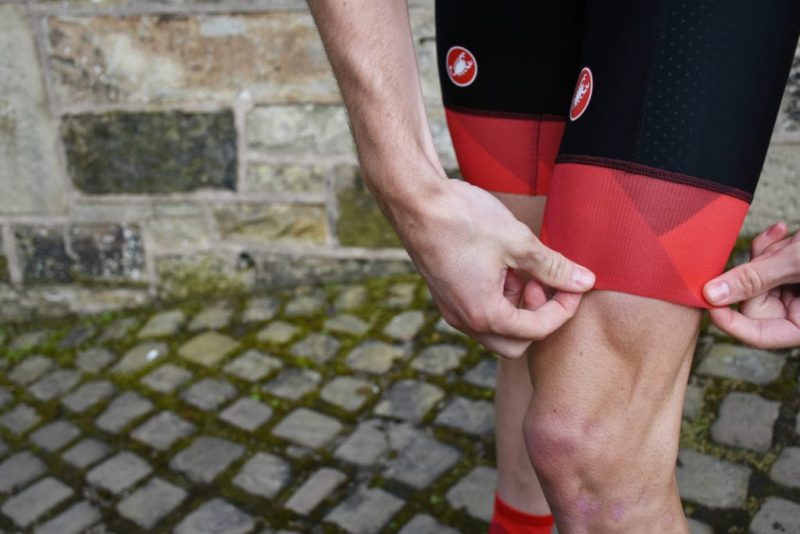
Cycling kits these days don’t come cheap. In some cases, they can easily cost you $300 or more.
If we’re going to spend a ridiculous amount of money on cycling kits, we’d better make sure we know how to take good care of them.
No one wants a $300 piece of clothing to last less than rides.
I’d say the way you wash your cycling kits will determine how well they perform and, more importantly, their longevity. After spending money (a lot) on these kits, the last thing you want to do is to damage them.
So how do you care for them?
Read on…
How to Care for Your Cycling Kits in 10 Easy Steps
Read the washing instruction labels.
Wash the whites and colors separately.
Rinse off all soil before washing.
Don’t use softeners, bleach or washing powders.
Wash inside out. Close all zipper and velcros.
Hand wash instead of machine wash.
If using machine wash, place the kits in a laundry bag.
Don’t tumble dry. Hang and air-dry instead.
Once dry, hang them up. Don’t fold.
Don’t iron.
One last tip…don’t let anyone else wash them for you, whether it’s your mum, spouse, partner, or maid!
Oh, and wait…don’t follow how the pros do it.
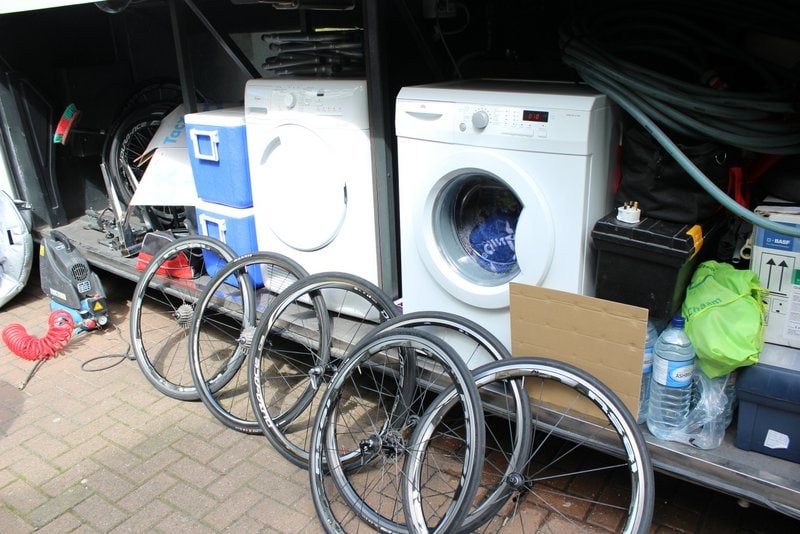
They have multiple sets of kits each year provided by their clothing sponsors.
And during a race like the Tour de France, there are many more things for the soigneur to worry about besides washing the kits.
So, they’ll opt for the easiest and fastest method – the washing machine and tumble drier.
5 Things to Do BEFORE Washing Your Cycling Kits
1. Read the Washing Labels
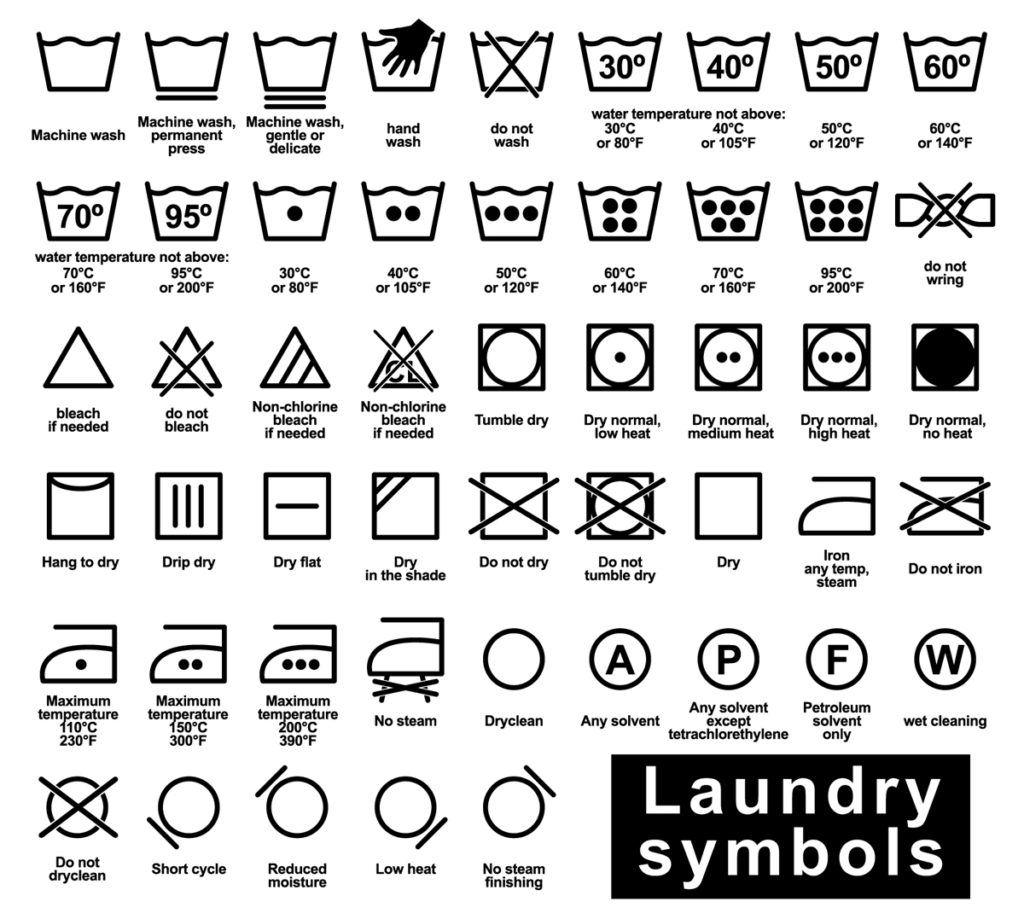
There are washing instruction tags on the inside of every piece of cycling kit that’s worth your money.
Generally, the instructions are very similar, with a few exceptions, especially for waterproof cycling jackets, which I’ll go through in the next sections below.
I know there’s a tendency to cut them off straight away but don’t!
Keep them there until you’ve memorized them! The dotted lines with scissors printed there don’t help either.
I personally think that the manufacturers should instead print, ‘Do Not Remove.’
2. Have 2 Buckets
Start with having 2 buckets if you haven’t done so.
Then, separate your kits into 2 buckets. Whites go with white ONLY.
Otherwise, your whites will end up brownish or yellowish over time if you keep washing them together with the other colors, especially blacks.
I love white cycling socks. So, I have a third bucket available to wash them. To keep my white socks white and fresh as mint, I’ll soak them separately using a stain remover – socks ONLY.
3. Use Bio-Friendly Detergents
Ideally, you’d want to use bio-friendly liquid detergents. Absolutely no softeners and no bleach!
The lesser the chemicals, the friendlier they’re to your cycling kits.
Prolonged and overused of chemicals will strip the materials of the waterproof, water-resistant, windproof and sweat wicking properties, making your piece of kit basically, useless.
Alternatively, the luxury option is to use cycling specific washing detergents from the likes of Assos and Nikwax.
4. Rinse off all the Dirt and Soil
Things can get very messy if you’ve finished a wet ride, or worse on a mountain bike. You’ve dirt, grime, and sand all over your kit, especially your mountain bike shorts.
Don’t wash them straight away!
Instead, shower yourself with your kits on. Or spray them with a high-pressure hose like how you would on your shoe covers.
Make sure you rinse them thoroughly before you remove them. It’s much, much easier to rinse your kits when having them on.
If you’re using chamois creams, make sure you rinse your bibs shorts clean too.
5. Hang Them Up if Not Washing Immediately
If you’re in a rush after riding and don’t have time to wash, don’t just chuck your kits together with all your other laundry.
Turn them inside out and hang up to air if they’re damp/wet to avoid bacteria from growing.
Bacteria loves dark and damp places and you’ll want to avoid that.
Hand vs Machine Wash
Personally, I hand wash all my kits after damaging quite a few of them in the washing machine in the past.
Some washing labels indicate that they’re machine washable.
But if you’re to do that, you’ll need to take additional precautions. I’ll go into that below.
But first…
Hand Wash
Start with soaking your kits in the 2 buckets (or 3 if you’re like me) for about an hour.
Use cold water or water below 30 degrees.
Coldwater is friendlier than hot water to the fabrics. You’ll also need a detergent that can break down dirt in cold water or low temperature.
When it comes to the actual washing, make sure you don’t scrub the fabrics together nor use any brushes.
Any intense washing or scrubbing may cause the fabrics to scratch or scruff, and that’s the last thing you want to happen.
Make sure you rinse them thoroughly after. Do it at least three times to ensure all the washing detergents are washed off.
Machine Wash
I understand that some of us might not have the time (or patience) to hand wash. So, machine wash is the solution. If you’re to do that, keep these in mind.
Wash all your cycling kits together.
Close all the zips and velcros so that they don’t pull or rip the other kits. Keep anything with velcros in a separate laundry bag if possible.
Check and ensure all the pockets are empty!
Turn them inside out and place them in a laundry bag.
It’s even better if you can have a separate laundry bag for your bib shorts so that the straps don’t get tangled with the rest of your kits.
Set the program to delicates or its equivalent, extra rinse, water below 30c, and minimal spinning to reduce crumpling and creasing.
How to Dry Your Cycling Kits
The most important thing to keep in mind is NOT to spin and tumble dry your kits. Period. If you’re in a rush, use the air dry mode in the tumble drier instead.
The ideal way of drying your cycling kits is to hang dry in an area that’s well ventilated.
Have them dried from inside out.
For some brands, the sun might bleach out the colors after prolonged UV exposure. The kit has spent a lot of time under the sun while you’re riding, so try to minimize the sun exposure time when drying them.
Since cycling kits are made from various types of fabrics, each has its own unique drying way.
Wool
For wool, don’t hang them dry yet when it’s out from the laundry.
Lay them flat to dry first as wool is heavier, and they’re prone to stretching when wet.
Waterproof and Water-resistant Cycling Kits
These are the exceptions when it comes to tumble dry.
They can be anything from winter cycling jackets to arm warmers, leg/knee warmers and even cycling gloves.
To make these kits waterproof and/or water-resistant, they’re treated with a layer of Durable Water Repellent (DWR) coating. However, as good as they’re, they will degrade overtime which is natural.
The easiest and fastest way to reactivate the DWR coating is by placing the kits into the tumble drier.
But before you do so, make sure you air-dry the kits to just damp beforehand. Then, tumble dry them in low heat for 20 minutes to reactivate their waterproof/water-resistant properties.
As I mentioned earlier, you should NOT be drying your kits inside the tumble drier.
If they still don’t regained their waterproof/water-resistant properties after this, you might need to look at using aftermarket DWR chemicals to treat them.
Nikwax is one of the very popular ones around.
Ironing
Don’t iron. I repeat, do NOT iron your cycling kits.
I know some people urge to iron them, especially if they come out crumpled after drying. Ironing will only damage the delicate fabrics.
Once you put them on, the lycra will stretch and straightens out itself.