Ever wondered why many new inner tubes are so nicely packed?
They’re very compact and take up very little space in your saddle bag.
So, how do you pack and fold your inner tubes in such a way especially after you’ve replaced them after a puncture by the roadside?
Many cyclists simply chuck them in the back pocket and deal with them at home. But what if your back pocket is already (almost) full?
Well, there’s a way to fold your used inner tubes and store them back in the saddle bag. It requires a bit of practice and patience.
Let’s take a look at how to fold the inner tubes, step by step.
Step 1. Open up the valve completely
Turn the valve head counter-clockwise to open it up to the maximum. This will allow every single bit of air to be released.
Step 2. Flip the tube
Flip the tube so that the valve is facing outwards. Fold the tube in half and have the valve near the end.
Step 3. Release all the air
To do this, give the inner tube a quick roll down towards the valve (similar to how you squeeze the last bits of toothpaste out), pushing all the remaining air out.
You might need to go back and forth throughout this step to ensure you squeeze as much as out as possible.
By the end, the inner tube should look (almost) flat.
Step 4. Repeat 2 to 3 times, if needed
If you find that there is still air trapped in the inner tube after Step 3, then repeat it again.
In many cases, it will take more than a single attempt especially if you’re still new to the process.
Step 5. Start rolling up the tube
Once you’re convinced that you’ve squeezed all the air out, it’s time to roll it up compactly for storage.
Depending on the valve length, add around 20mm to it. For example, if the valve is 40mm long, you want it to be around 60mm away from the end.
Starting rolling the tube from the opposite end of the valve. Make sure it’s as compact as possible. You may notice that there is still some air left in the tube. But as you roll, they’ll be pushed towards the valve.
Step 6. Use a rubber band to hold the tube together
Once done, use a rubber band (which usually comes with the new tube) to hold the inner tube together.
Cover the valve with the valve cover if you still have it to avoid the valve from puncturing the tube.
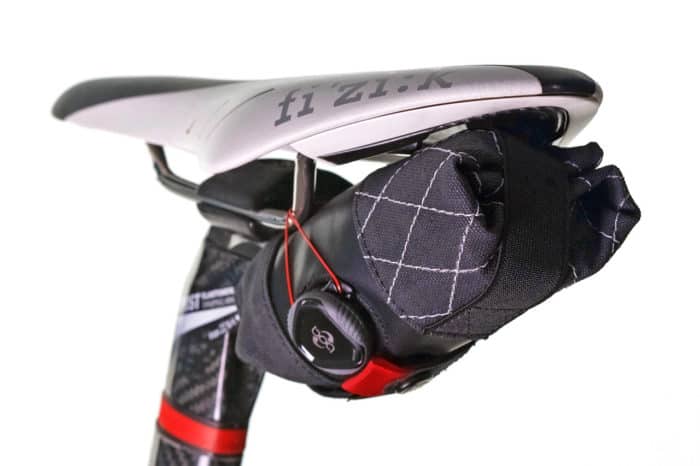
Step 7. Store it in the saddle bag
By now, the inner tube should be compact enough to be stored in your saddle bag. Done correctly, it will not take up any more space than a new inner tube.
Step 8. Replace the punctured inner tube
If it’s a punctured tube, remember to replace them from your saddle bag when you’re home. You don’t want to be left with a punctured spare inner tube the next time you puncture.