The first thing that always comes to mind when traveling by air with the bike is,
“How do I pack my bike so that it’s safe, secure, and doesn’t get damaged?”
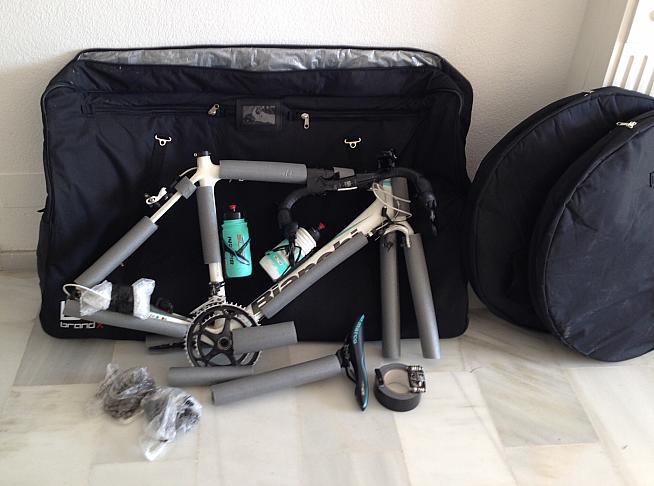
Before jumping right into the tips on how to pack your bike for your next gran fondo, you’ll need to decide the type of bag you’re using.
It can be as simple as a cardboard box, soft shell, or hard shell bike bag for air travel.
Each has its own pros and cons. Generally, it boils down to 2 things – your budget and your risk appetite.
Bike Bag vs Bike Box - Which Is Better?
One of the very common questions is which is better? Bike bag or bike box?
Personally, I’ll always go for the bike bag option.
My bag has been on more than 10 trips in the last 3 years and they did very well each time. I’ll share some tips below on how to pack your bike for air travel.
These tips are skewed towards using a bike bag. But if you’re using a cardboard box, they’re equally useful.
So here’s a quick overview of the pros and cons of a bike bag and box.
Bike Bag
- Secure. Whether it’s soft or hard shell bags, bike bags are made from durable, hard materials which will minimize the risk of damage.
- Expensive. A good quality bike bag usually starts from $200 and could go up to almost $1000.
- Heavy. The lighter ones (soft shell) usually weigh 8 to 10kg. Hard shells weigh between 11 to 13kg.
Bike Box
- Very Cheap. In some cases, you can get them for free at your local bike shop, or by paying a minimal fee.
- Light. Bike boxes don’t even weigh half of what the lightest bike bag weighs.
- Vulnerable. Since they’re made of cardboards, they provide very little protection to your bike and the box itself can get damaged especially it left out in the rain during transit.
Things to Remove Before Packing Your Bike
When it comes to packing a bike, whether into a cardboard box or bag, there are components that need to be removed.
There are some must-have bike tools to bring with you when you travel, such as:
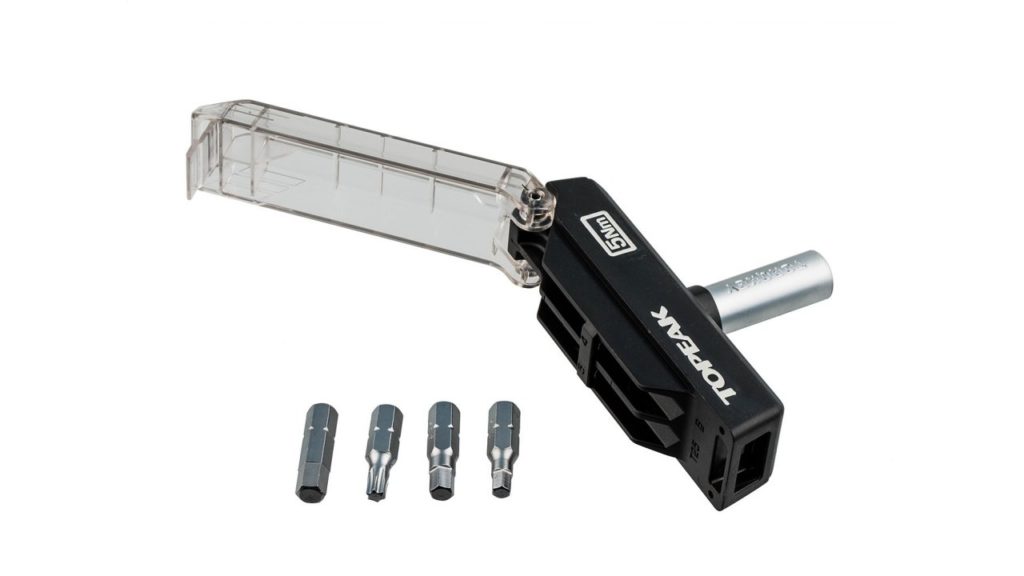
- Multi-tool. Multi-tools usually have 4/5/6mm Allen keys and make sure they have a T25 Torx if your bike uses a T25 bolt, especially for the stems.
- Torque wrench. A torque wrench is to tighten the seat posts, stems, and handlebar bolts to a specific value, such as 5Nm which is commonly used.
- 8mm Allen key. To remove Shimano, Look, Speedplays, and Time pedals.
Exactly what needs to be removed will be determined by the type and model of bike bag you are using.
For example, you’ll only need to remove both wheels if you’re using the Scicon Aerocomfort 3.0 bag. If you’re using hard shell bags, you’ll also need to remove the handlebars, seatposts, and pedals.
Here’s what needs to be removed, sorted from have-to’s to optional.
- Wheels. Remove both front and rear wheels, deflate your road bike tires completely and make sure they’re clean.
- Quick-release Skewers. Remove them from the wheels and keep them in a small storage bag.
- Pedals. Some bags are slim, and the pedals might get in the way. Use an 8mm Allen key to remove the pedals.
- Handlebars. Have them twisted sideways and secured to the frame
- Seatpost. Make a marking to indicate your saddle height before removing.
- Mechanical Rear Derailleur. Sometimes the cables can get in the way of the bag. If so, remove it from the hanger, cover with bubble wraps and secure it to the chainstays.
- Disc Rotors. These are vulnerable to bending, primarily if the bag stores the wheels on the outer parts.
How to Pack Your Bike for Air Travels
Besides removing all the necessary parts and components, the packing tips below will minimize the chance that your bike will be damaged.
Let’s go through each item one by one.
Chain Rings
The teeth are sharp and can cut anything that goes their way. Put the chain on the biggest chainring to have them well covered.
Additionally, tie the chain to the chainring using a zip tie so that it doesn’t fall off, which happens quite often.
Dropouts
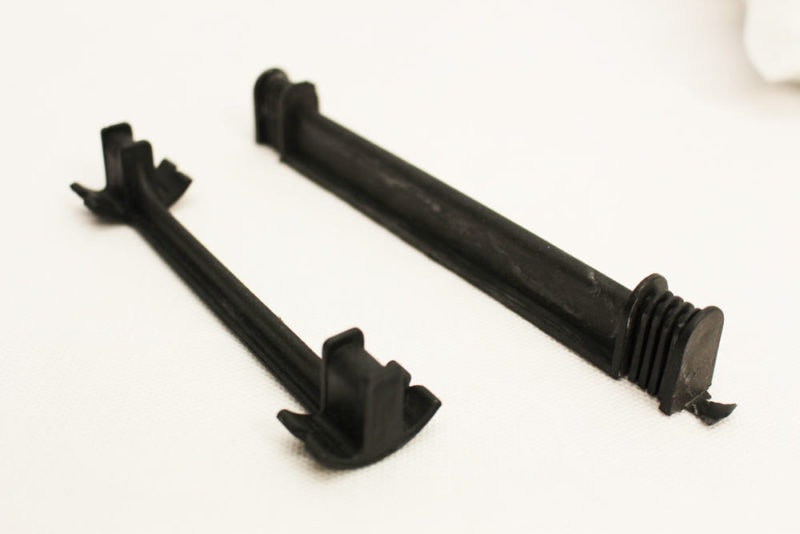
Place the fork spacers to protect your fork and rear triangle dropouts.
It prevents them from being squished together when your bike bag is laid down horizontally.
You don’t need to buy them. They’re usually available for free at your local bike stores.
Chains
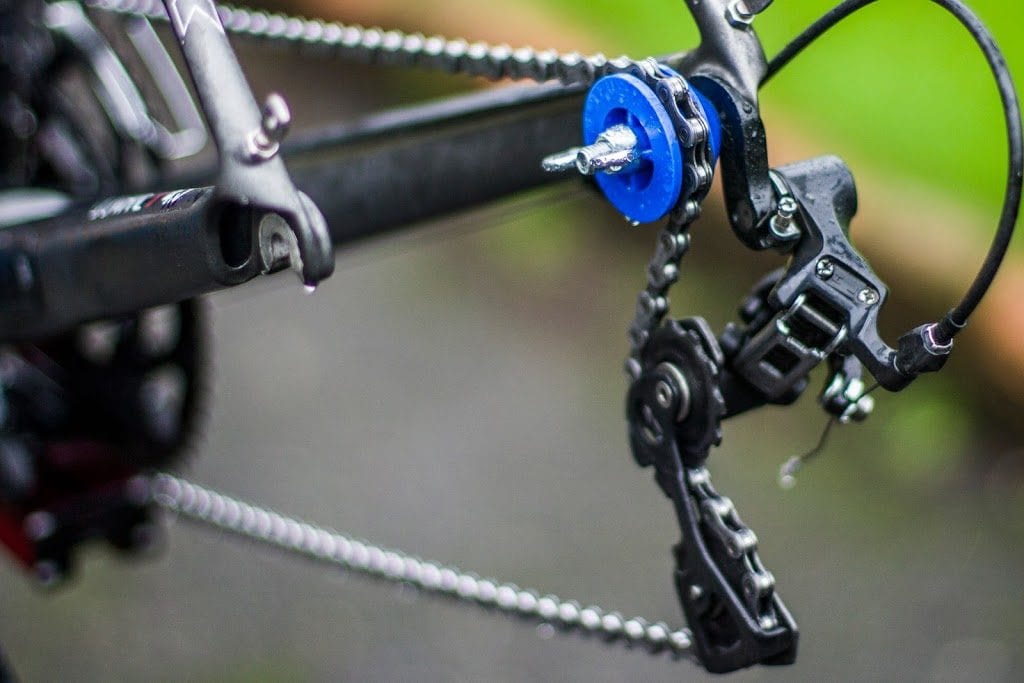
When you remove the rear wheel, the chain loses its tension and tends to move around, especially dropping from the chainrings. Use a chain keeper to keep the chain together.
Chain Rings
The teeth are sharp and can cut anything that goes their way. Put the chain on the biggest chainring to have them well covered.
Additionally, tie the chain to the chainring using a zip tie so that it doesn’t fall off, which happens quite often.
Crank Arms
Rotate and keep them parallel to the floor at the 3 and 6 o’clock positions.
Bike Frame
Use either bubble warps, foams, or pipe lagging to provide extra protection and care to the bike frame.
Wrap them around the fork, top tube, down tube, and chainstays.
Double or triple wrap the seat stays as these are usually the most vulnerable.
Once done wrapping, use tape to hold the wraps together.
Handlebars
Have them taped to the bike frame so that they don’t dangle around. You could risk the brake levers hitting the bike frame during transit.
Disc Brakes
Remove the rotor from the wheel if possible.
For some bags, the wheels are usually kept on the outer sections, and the rotors are vulnerable to bending should the bags are stacked up together.
Pedals, Saddle, Seatpost, QR Skewers and other Accessories
Have all of them stored in a small bag together with your tools, road bike headlights, rear bike lights, and a hand pump or CO2 inflator kit.
Make sure the bag is securely closed and zipped.
You can also stash your bike helmet and cycling shoes inside the bag if there’s enough space.
Also, don’t forget your bike saddlebag and spare tubes!
Total Weight
I know we’re tempted to pack everything bike-related into the bag as long as there is still space.
But from my own experience, I would advise against doing so.
Try to keep the weight down as baggage handlers can be less tolerant when it comes to big and heavy bags, including bike bags.
3 Things to Do Before You Check In Your Bike Bag
1. Check for Any Loose Stuffs
Once all packed, move/rattle the bag from side to side, put it horizontally (that’s how your bag will move along the conveyor belt), and try to see if you hear any sound.
If there’s sound, check again if you’ve forgotten to pack something securely inside.
2. Baggage Tags
Use an additional tag besides the baggage tag provided by the airline when you check-in.
Have your information like name, address, and contact number in there.
Stickers. Ask the airline check-in staff to provide you with Fragile stickers or tags. Put them around your bike bag.
3. Bag Straps
Some bike bags come with straps for ease of maneuvering around the airport.
But these can be a hazard if you don’t remove them during check-in.
The straps could get tangled while the bag moves along the conveyor belt, and the load could get stuck and damaged.
Author Recommended Reads